With any sort of audio file, you may get the point of thinking: How could I use this in other forms of media? Podcasts in particular have seen an increase in popularity on video hosting platforms like YouTube. Even audio-based podcasts (like Tales from Trantor) are capable of uploading their content, but uploading your audio with static images can be a pain and doesn’t catch the eye.
An audiogram is not just a chart that records hearing loss, it’s the term used to define a visual representation of an audio clip. Some people also call audiograms “waveform videos”.
So, how about we use FFmpeg, a free and open-source tool, to combine our audio and an image file to create an amazing audio gram .mp4 file? To begin with, we need:
- An audio file, preferably in .mp3 or .wav format. If you are just starting out or testing, a smaller audio clip of less than 5 minutes is best.
- An image file, preferably .png or .jpg/.jpeg. If you are intending to eventually upload to YouTube, I recommend an image that is 1920×1080 in size.
- A computer with a decent CPU. FFmpeg uses your PC’s CPU to process the waveforms. Most modern day computers should be fine, but they will run a little hotter and louder while rendering the video file.

Downloading FFmpeg
FFmpeg is free and open source software, available on Linux, Windows and OSX. To begin, download the relevant version of ffmpeg for your operating system from their website.
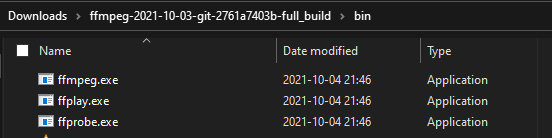
Assuming you are on Windows, download and unzip the folder. If you navigate to the bin folder, you’ll notice the ffmpeg.exe executable.
Great, we’re one step closer! Before we dig into making the audiogram, let’s briefly look at how we want it to look.
Customising our Audiogram
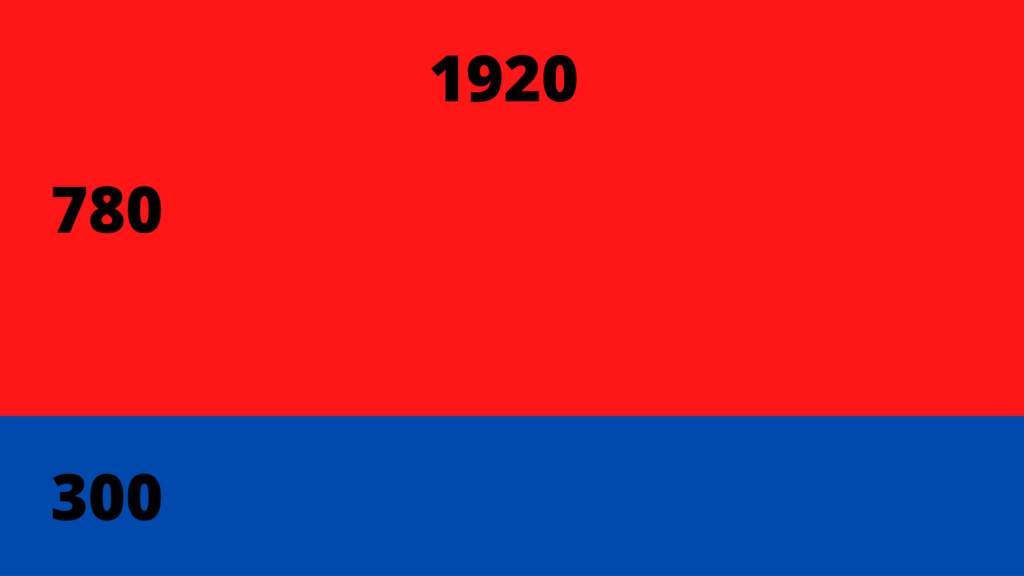
The command that we’re going to run (which we’ll look at later) is going to take in input regarding the intended size of the waveforms, the colour it should be, and where on the video it should be placed. If we take one of the Brace the Badlands videos for example:

- The wave form is the same width as the image (1920 pixels, in our example).
- The wave form has been placed along the bottom of the image. (Offset by 780 pixels vertically)
- The wave form has a maximum height set. (We can’t see it clearly in the example, but it is set to go at most to 300 pixels in height).
- The wave form is in white, the same colour as the primary text. (Using colour code 0xffffff)
This information is important because we’ll feed it into the ffmpeg options later on. Here’s an example of the options used to generate that example image:
-y -i path_to_audio.mp3 -loop 1 -i path_to_image.png -filter_complex "[0:a]showwaves=s=1920x300:colors=0xffffff:mode=cline,format=rgba[v];[1:v][v]overlay=0:780[outv]" -map "[outv]" -map 0:a -c:v png -c:a copy -shortest -vcodec libx264 -acodec aac path_to_output_video.mp4Linking back to our options, we can confirm that we have the wave size set to 1920 (the full image width) x 300 (the maximum height of the waveforms generated), colour is set to white, and overlay is set to start at 780 pixels. Here’s a simple example of our real estate, with a 1920×1080 image:
You may find generating a larger or smaller waveform works better for you. You may also decide to generate waveforms for a video for Facebook, Twitter or Instagram!
Generating the Audiogram
Assuming you want to stick with my example of a 1920×1080 image, and a 300 pixel height waveform, we’re going to open a console window on our computer and prepare the command.
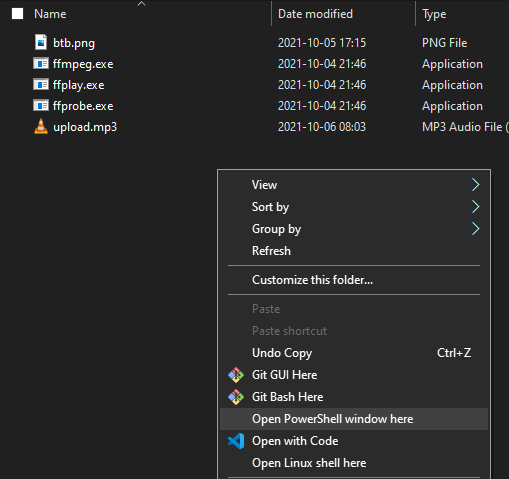
Firstly, for our example I’m going to place both the image file and audio file in the same directory as our ffmpeg executable. You can always define the full file path when we run the command if you have the files elsewhere, but this is fine for our example.
Shift + Right-click in File Explorer, and at the prompt launch a Console / PowerShell Window (this may vary depending on your version of Windows).
With the window open, either paste or enter the code as options. Don’t press enter yet as you need to set specific options.
ffmpeg.exe -y -i path_to_audio.mp3 -loop 1 -i path_to_image.png -filter_complex "[0:a]showwaves=s=1920x300:colors=0xffffff:mode=cline,format=rgba[v];[1:v][v]overlay=0:780[outv]" -map "[outv]" -map 0:a -c:v png -c:a copy -shortest -vcodec libx264 -acodec aac path_to_output_video.mp4
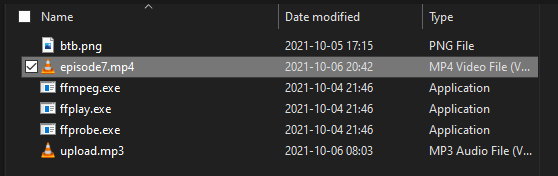
Once you have set your image file, audio file and output name, press enter to run FFmpeg. Depending on the length of the audio file and your computer’s available resources and CPU power, this could take anywhere from a few seconds to a few minutes. I’ve rendered a 50+ minute audio file on an AMD Ryzen 5 3600 in ~25 minutes. The output .mp4 file will be available either in the FFmpeg directory, or wherever you set your full output path to.
This will now be ready for you to upload to your video platform of your choice.